
What's not to love about pitta breads?
A ready made sandwich pocket that can cope with all manner of stuffings.
Great hot or cold, griddled, fried (stuffed with cheese obviously)
or snipped into bite size dippable chunks.
Yum!
And they are super easy to make for yourself.
Brilliant to make with kids. They'll love how they puff up in the oven.
Brilliant to make with kids. They'll love how they puff up in the oven.
Believe me when I say once you've made these
you will wonder why you ever bothered buying them.
They taste soooo good!

From start to finish they will take 3-3.5 hrs
depending on the warmth of your kitchen and dough handling skills.
I also use the stretch and fold (no knead) method as for
Easy yeasted bread
My recipe makes 10 large oval pockets
or you can halve it and make 6 smaller round ones if you choose.
* the dough won't hurt to sit for a while if don't have sufficient baking trays*
It also works with 100% wholemeal or white flour
but I tend to use 50/50 ie half of each.


 They also make a great stand by crouton for soups and salads

Easy yeasted bread
My recipe makes 10 large oval pockets
or you can halve it and make 6 smaller round ones if you choose.
* the dough won't hurt to sit for a while if don't have sufficient baking trays*
It also works with 100% wholemeal or white flour
but I tend to use 50/50 ie half of each.
Easy peasy pitta pockets
2-3 flat roasting trays or tins floured
250g wholemeal bread flour
250g white bread flour
1tsp/9g salt
1/2 tsp/3g easy bake yeast
320g tepid water
- Begin with the water and yeast. Whisk together to combine

- Tip in the flour and salt and stir together with a wooden spoon. The mix is quite stiff so finish with your hands * you will need to make sure that all the water is absorbed and all the flour combined well

- Cover the dough with a cloth and leave it to stand for 15 minutes
- Lift a small portion of the dough up and fold it over to the middle. Repeat moving in a coircular motion 15-20 times

- Leave covered for another 15 mins. Repeat the stretch and fold/rest process twice more. The dough will start to resist be careful not to tear it

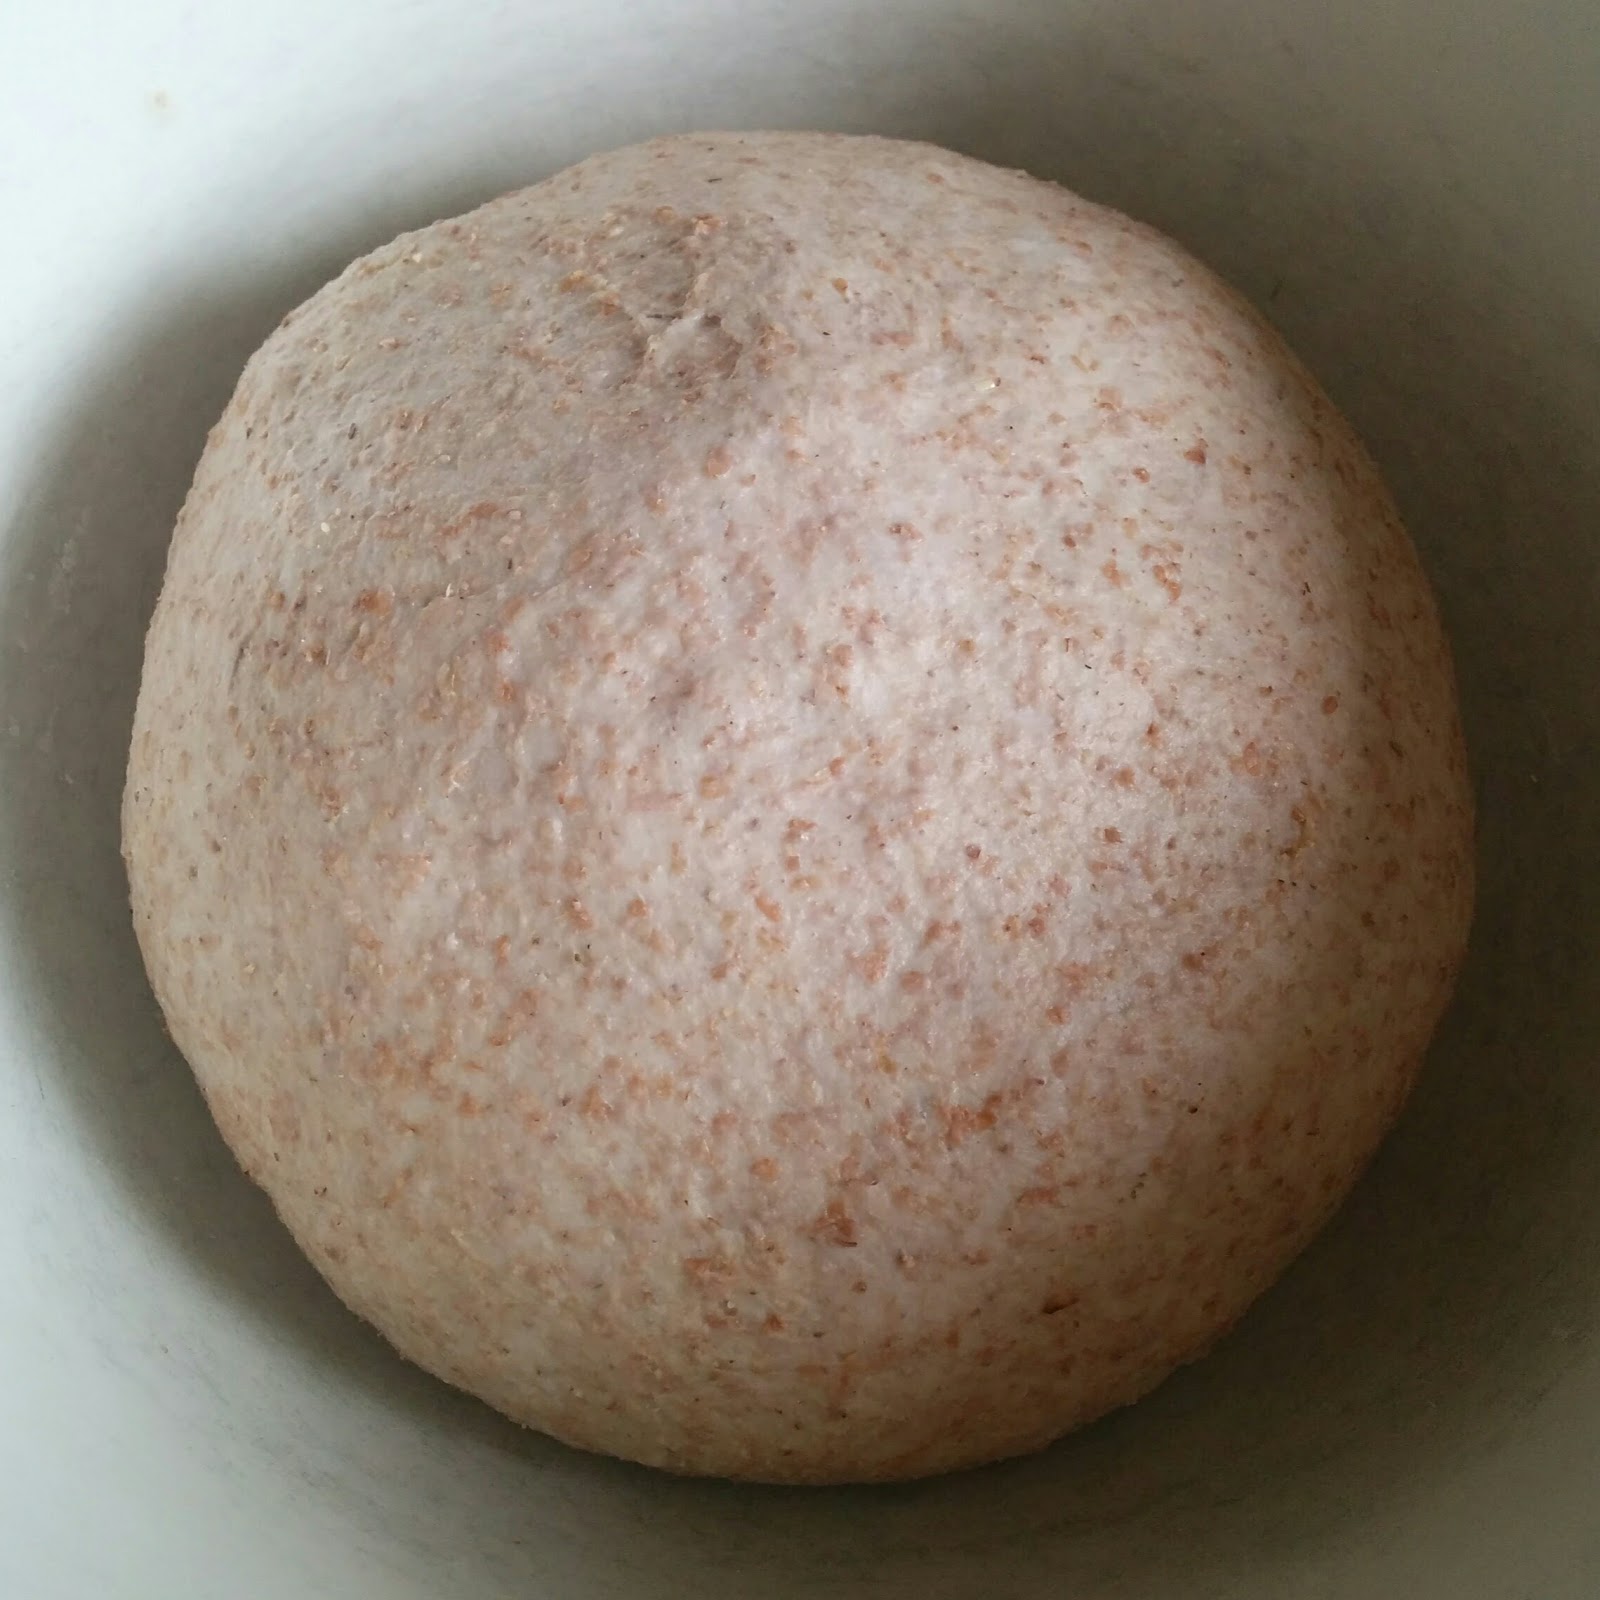
- It will now feel taught and smooth. Cover and leave to prove in a draft free place for 1-1.5 hrs until it has doubled in size
- Punch out the air gently and divide the dough. It is very robust so I usually use a knife. If you are making 10 then each section should be roughly 80g


- Take each chunk and fold from the outside in to make it compact and round. Turn it over and roll it on the counter in a circular motion to create a tight ball. You shouldn't need to use any extra flour at this point


- Now cover and let the balls rest for 10 minutes. Turn on your oven 220 C fan assisted.

- Dust the work surface and each ball lightly with flour and roll out to the desired size. They need to be flattened and thin. Take particular care that the edges don't puff up too much (see below)

- Transfer to the floured baking trays, cover and rest for another 10 mins

- Bake for 5 mins and turn (if your oven is anything like mine) then a few minutes more until they are all puffed up. This will vary so keep an eye on them. *Don't let them brown or they will be dry and brittle*

- Enjoy warm or save them for another day. However they don't keep for more than a day or two, but freeze well. Refresh in a low oven or pop in the toaster
Enjoy with a plate of seasonal scrumminess,
hot or cold, to scoop, dip or fill.


Pittas also take additional flavourings well.
Try adding your favourite seeds or spices to the dough.
However mindful that some spice can inhibit dough development.
Also I've not had a lot of success coating them in anything
as it either burns or pops off in the puffing process.
So what's stopping you?
You gotta pitta pocket or two ...
Comments
Post a Comment